


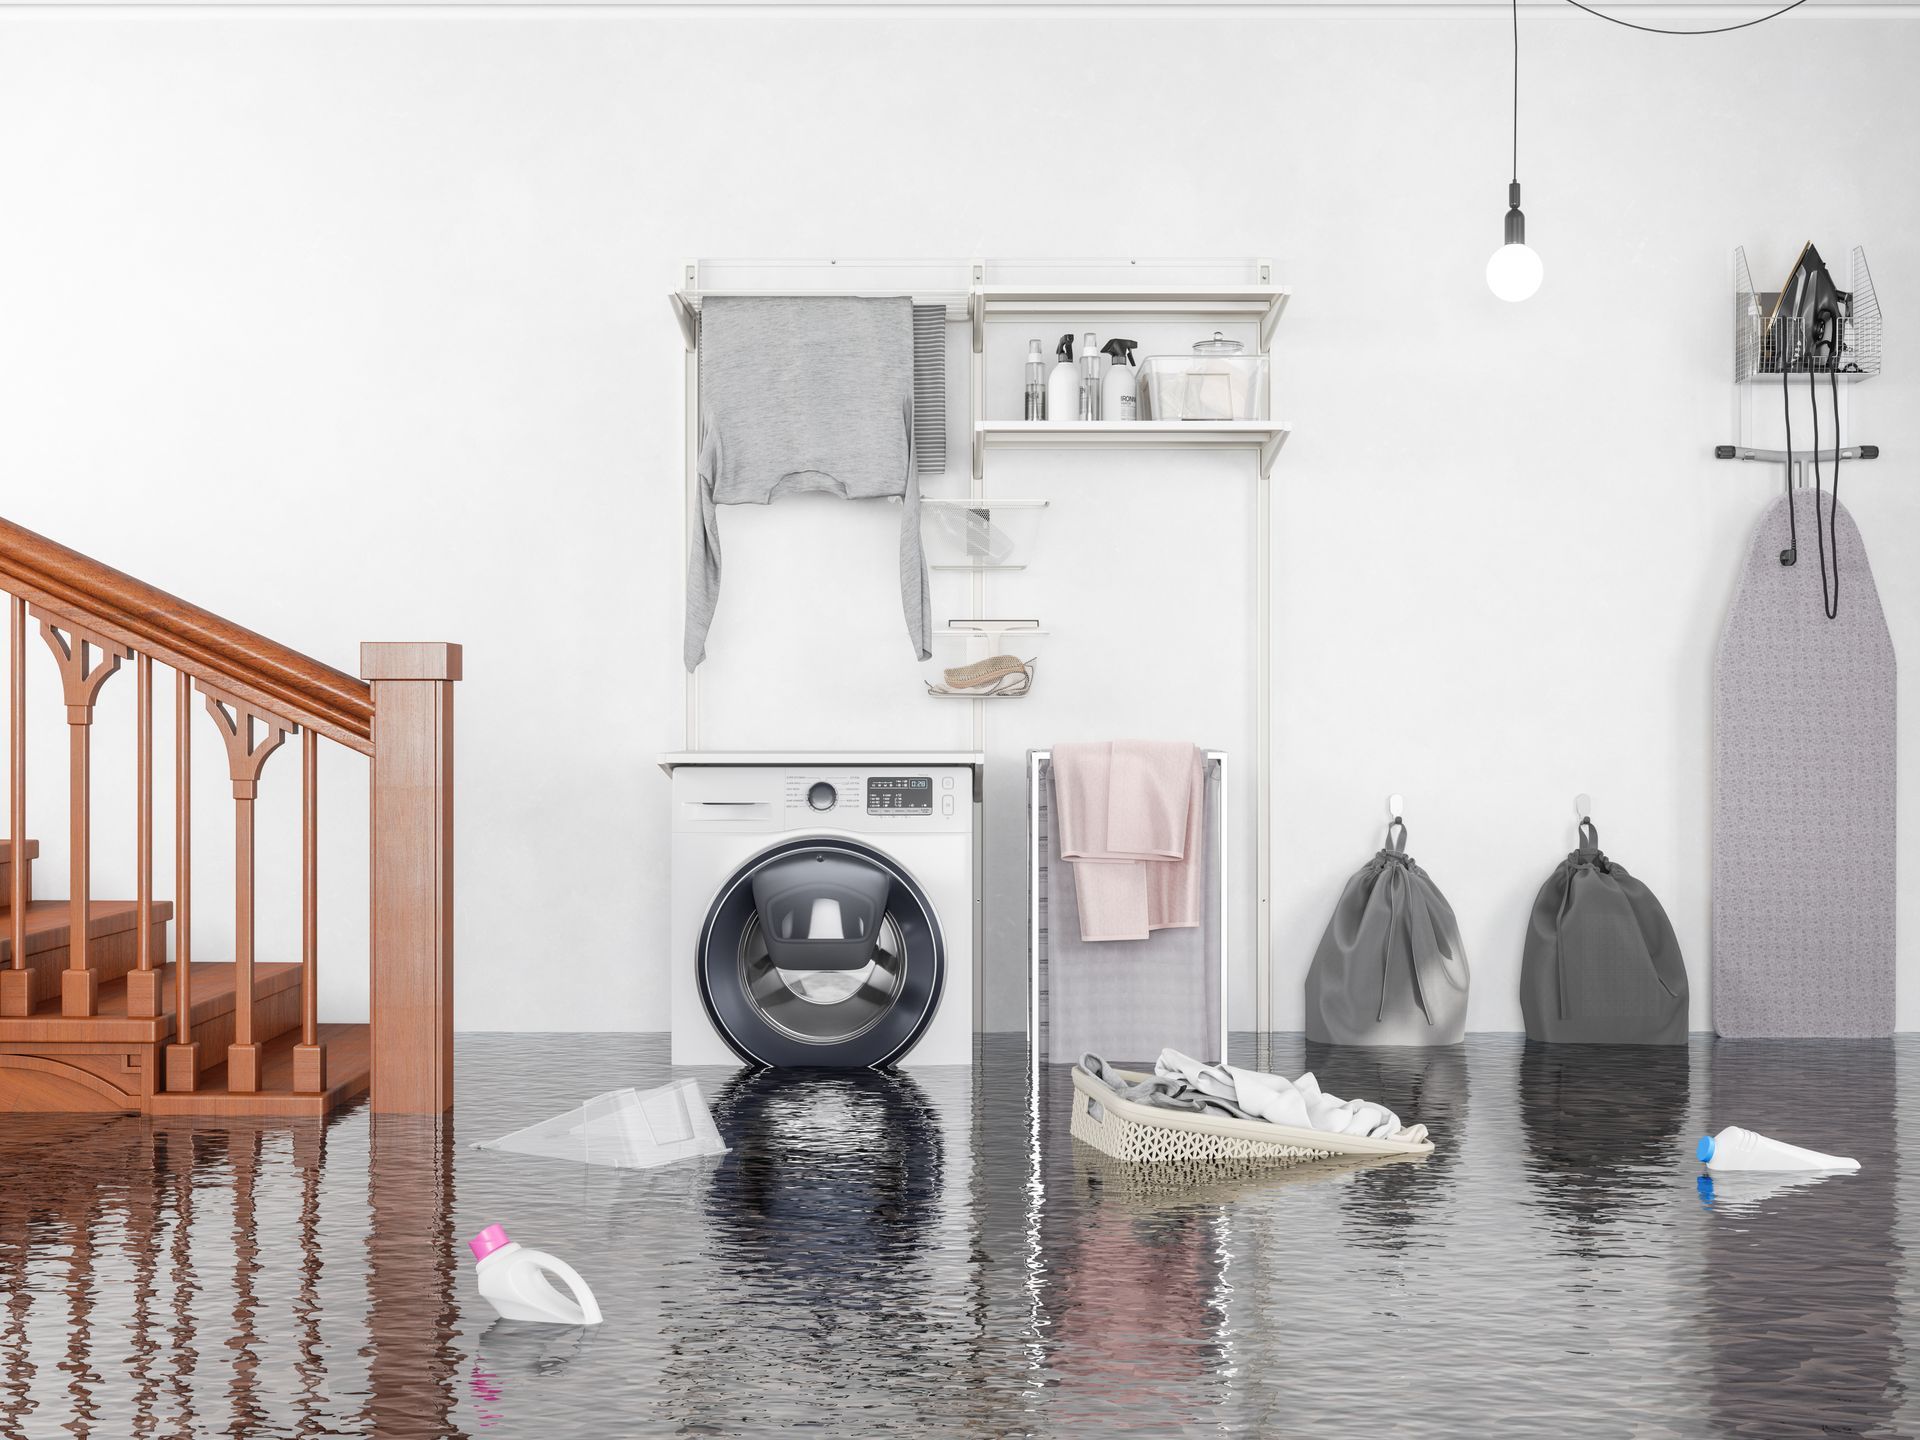
Every spring, basements flood across Mid-Michigan, often in homes that stayed dry all winter. Snow melts, rain moves in, and suddenly water shows up along basement walls or across the floor. It feels sudden, but it’s rarely random. If you live in or around Grand Blanc or elsewhere in Genesee County, spring flooding follows a familiar pattern. Understanding why it happens is the first step to stopping it.

Every spring, basements flood across Mid-Michigan, often in homes that stayed dry all winter. Snow melts, rain moves in, and suddenly water shows up along basement walls or across the floor. It feels sudden, but it’s rarely random. If you live in or around Grand Blanc or elsewhere in Genesee County, spring flooding follows a familiar pattern. Understanding why it happens is the first step to stopping it.
At first, it smells faint. A little smoky when the heat kicks on. Then weeks pass, windows have been open, candles burned, sprays emptied, and the smell is still there. Sometimes it’s worse. If you’re dealing with lingering smoke odor after a fire, cooking incident, or furnace issue, this is the hard truth: most DIY smoke odor removal methods don’t fail because you used the wrong product. They fail because they’re fighting the wrong problem. Below is a clear explanation of why smoke smells linger, why sprays and gadgets don’t solve it, and what actually works when the odor won’t leave.
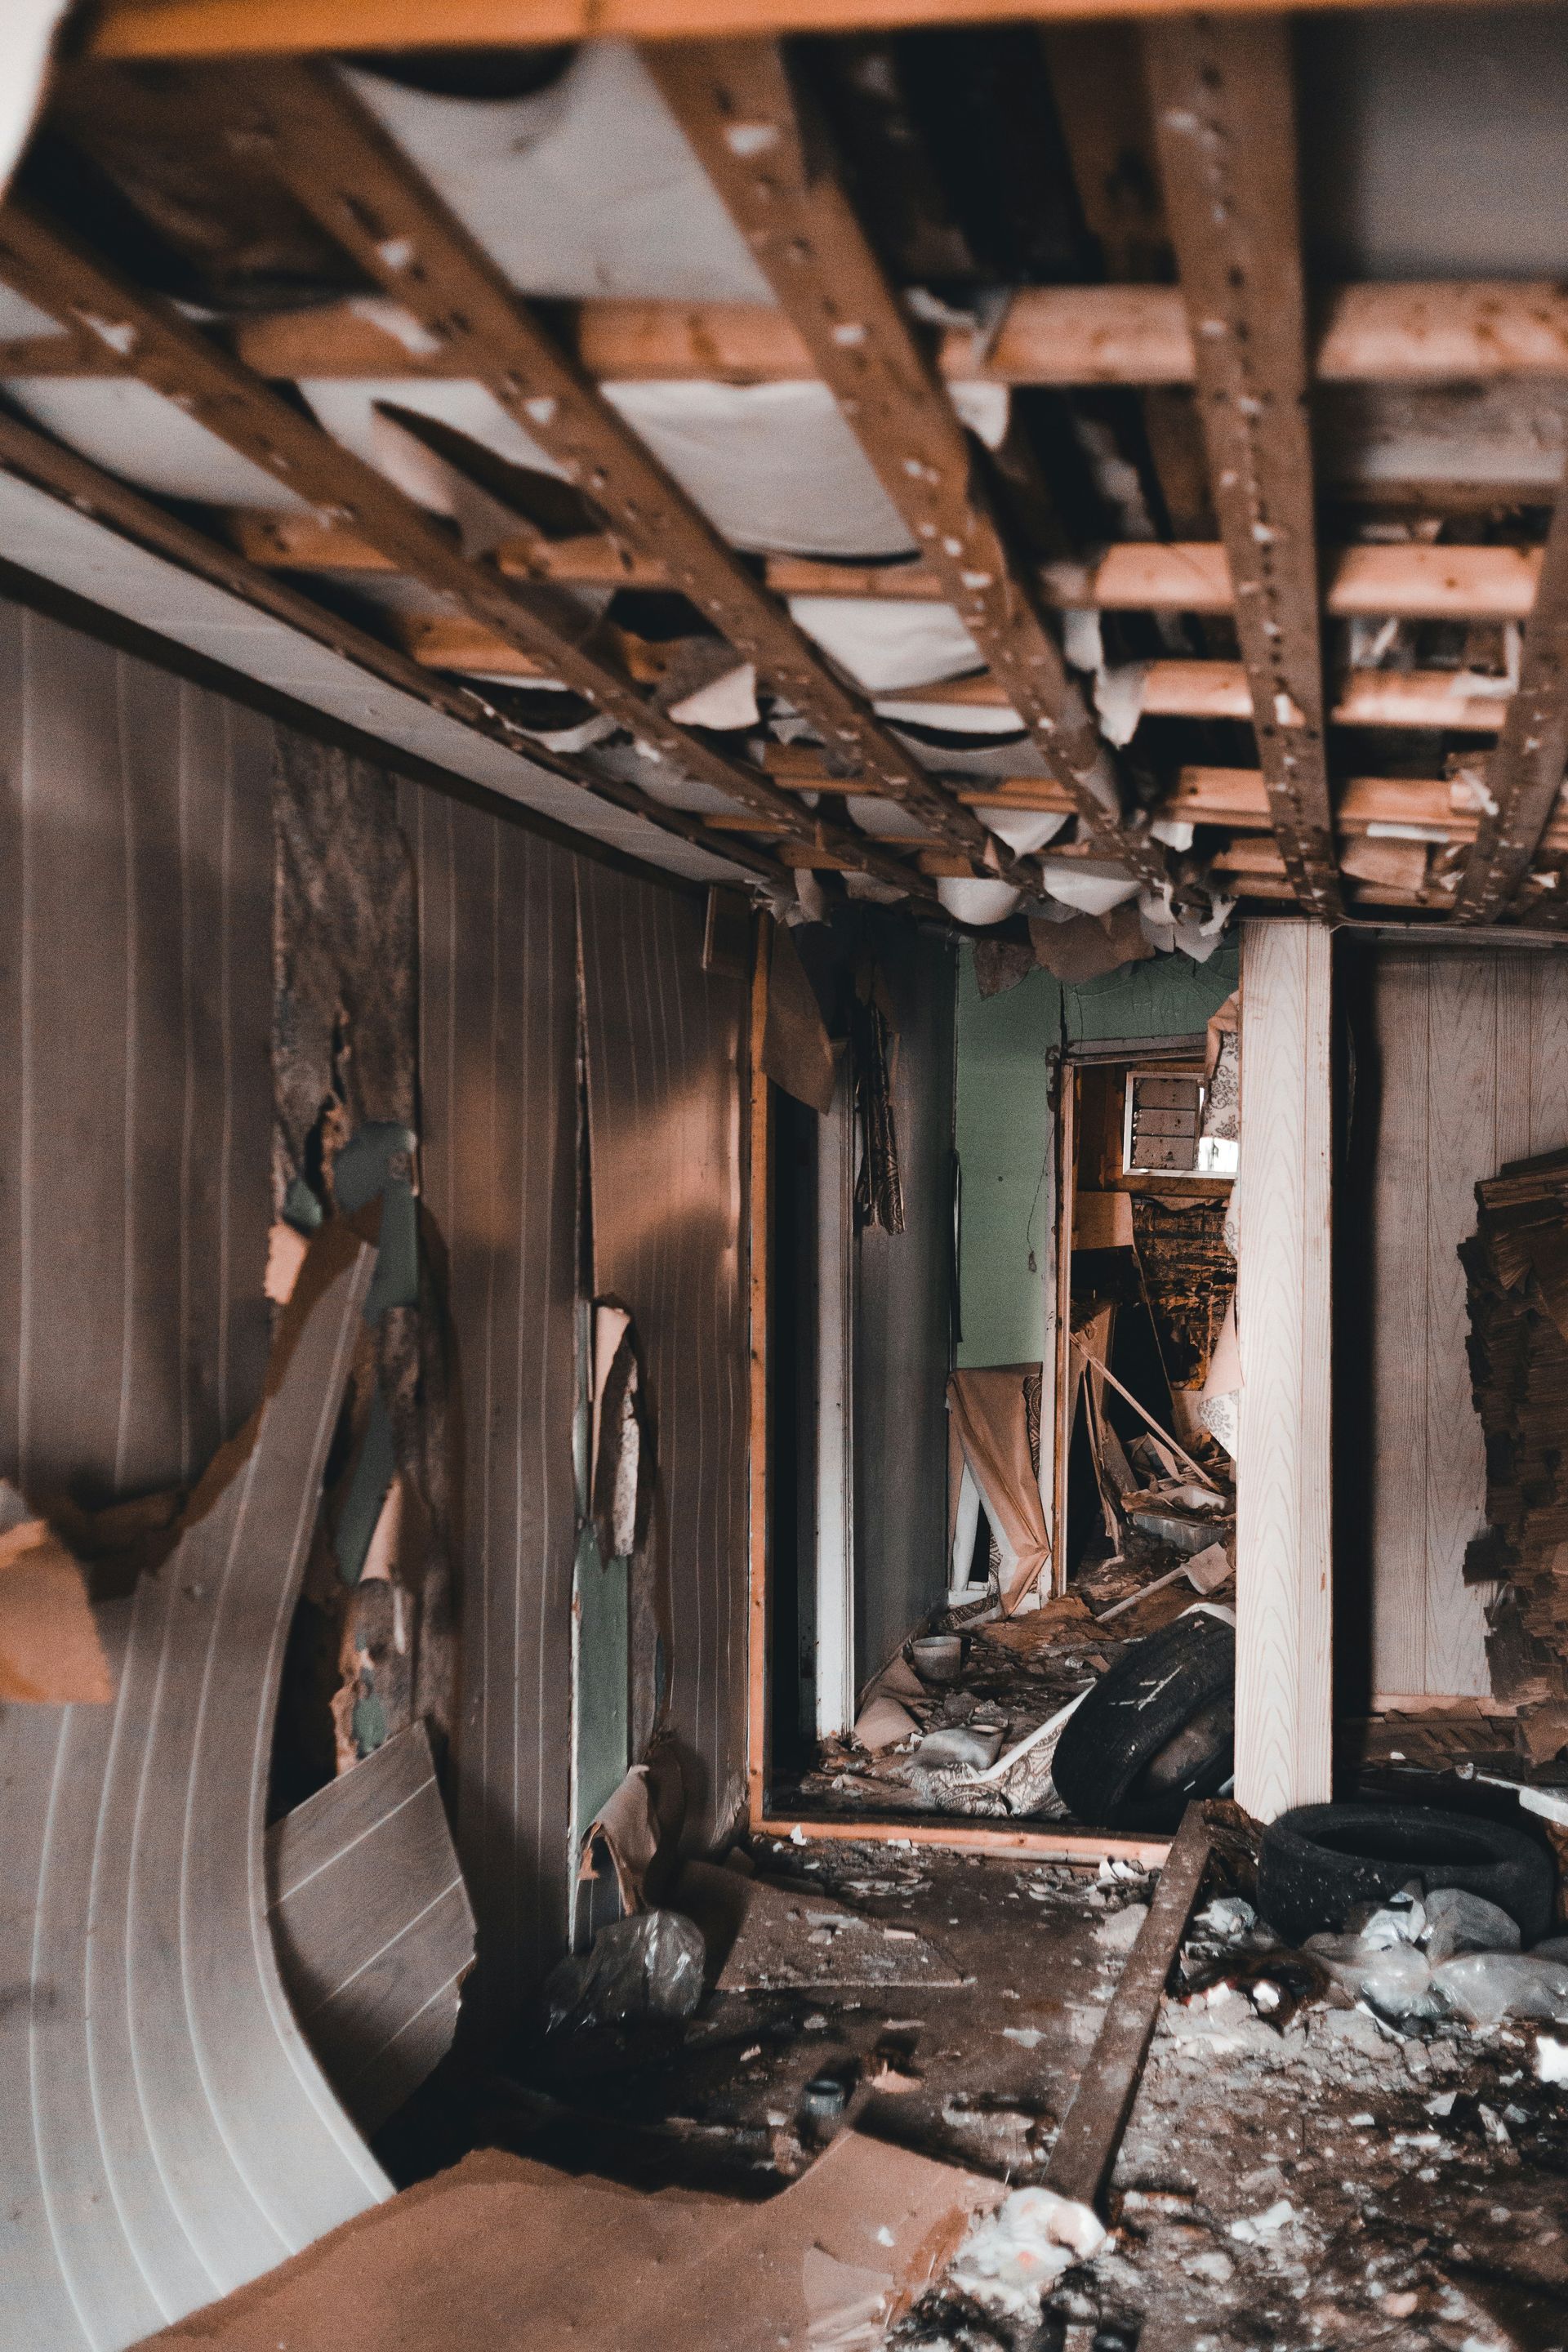
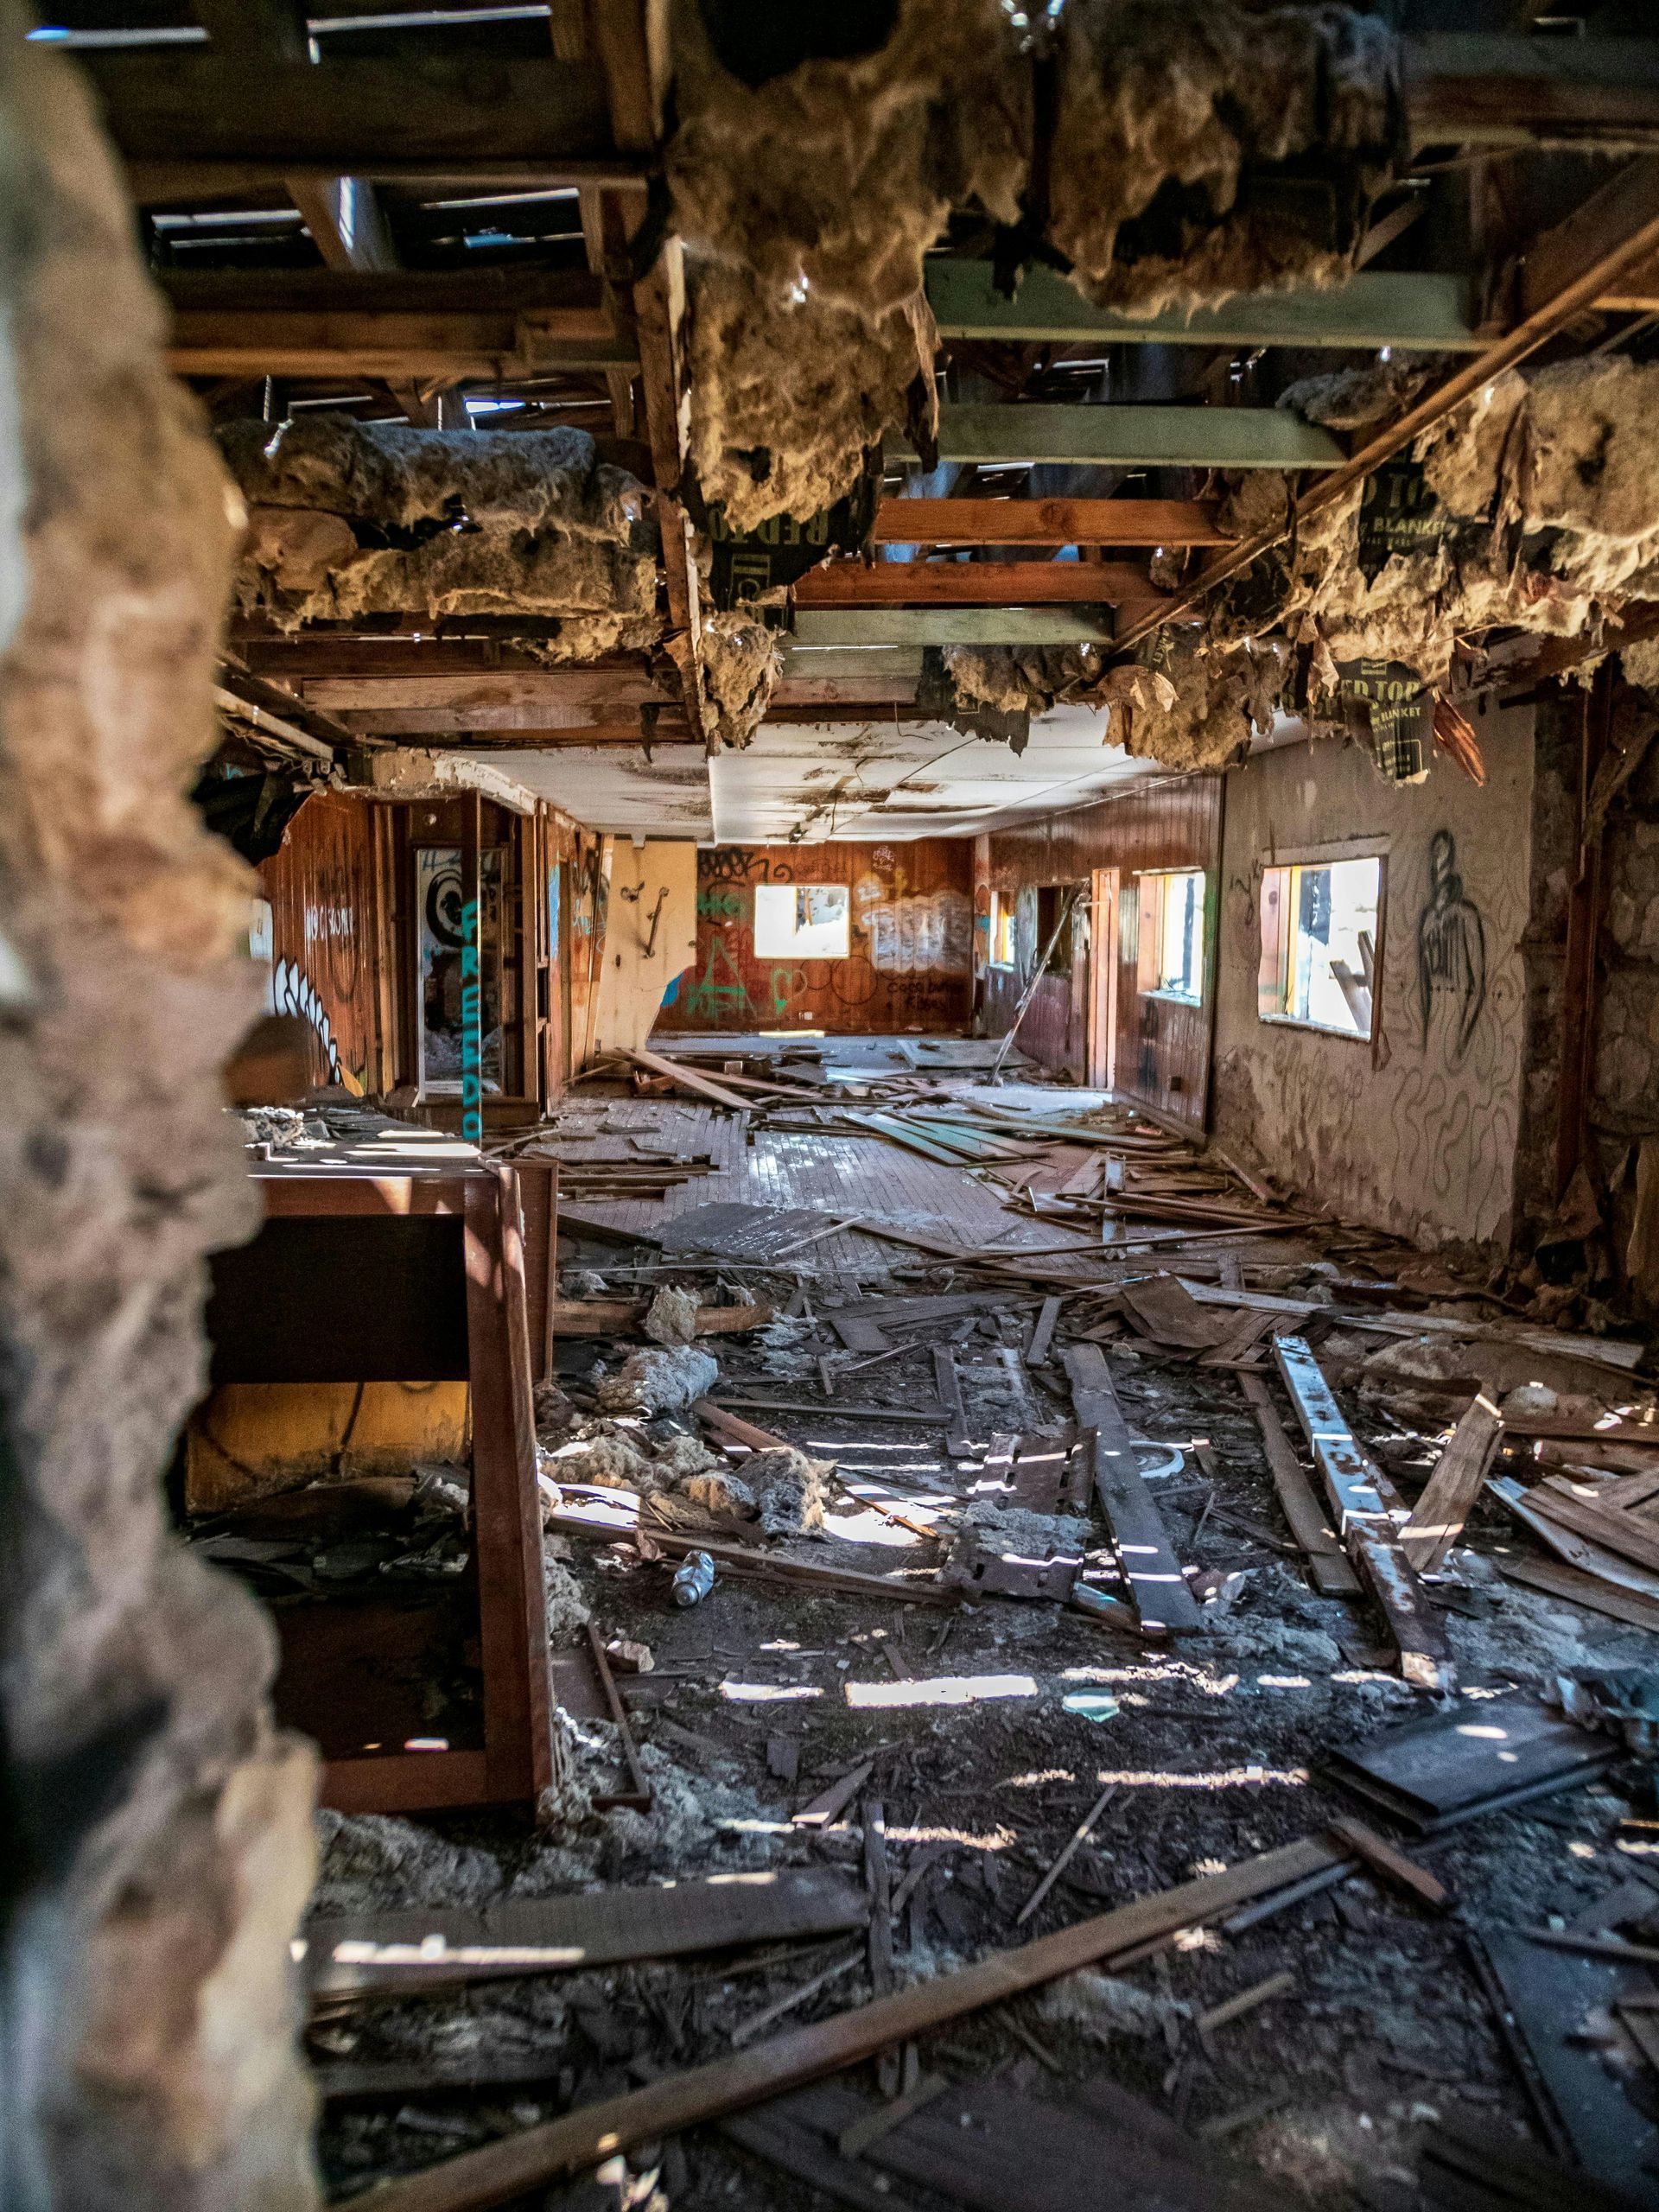
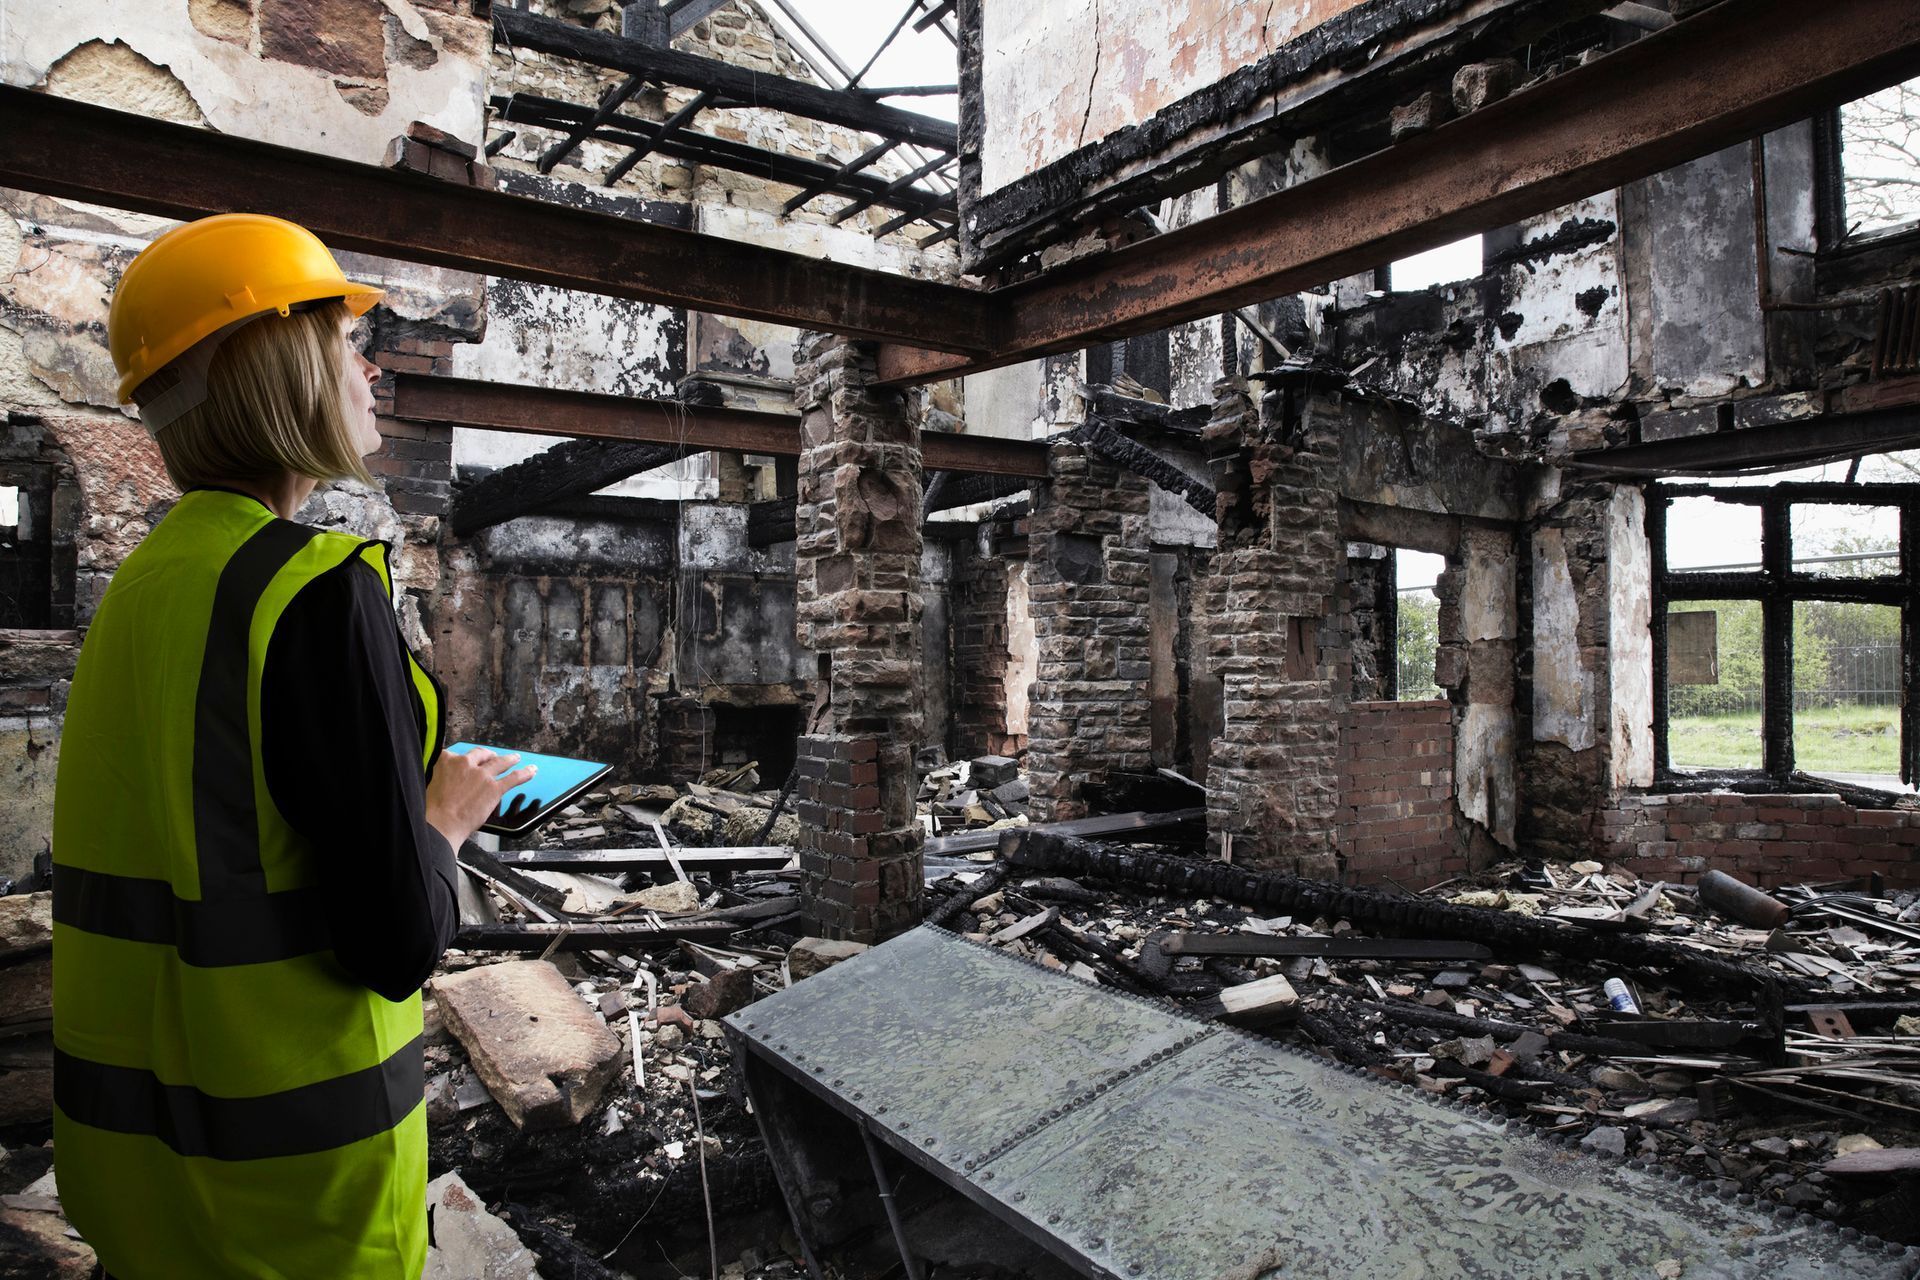
A house fire doesn’t end when the flames are out. For most homeowners, the real damage starts quietly in the hours and days that follow. Smoke settles into walls. Soot turns acidic. Water used to put out the fire keeps soaking deeper into floors and framing. In Michigan winters, this happens more often than people expect. Home heating equipment fires peak during cold months and remain one of the leading causes of residential fires. When it’s freezing outside and your home is open, wet, and filled with smoke residue, the clock starts ticking fast. Below are the seven most common mistakes homeowners make in the first 72 hours, and what to do instead to protect your home, your health, and your insurance claim.
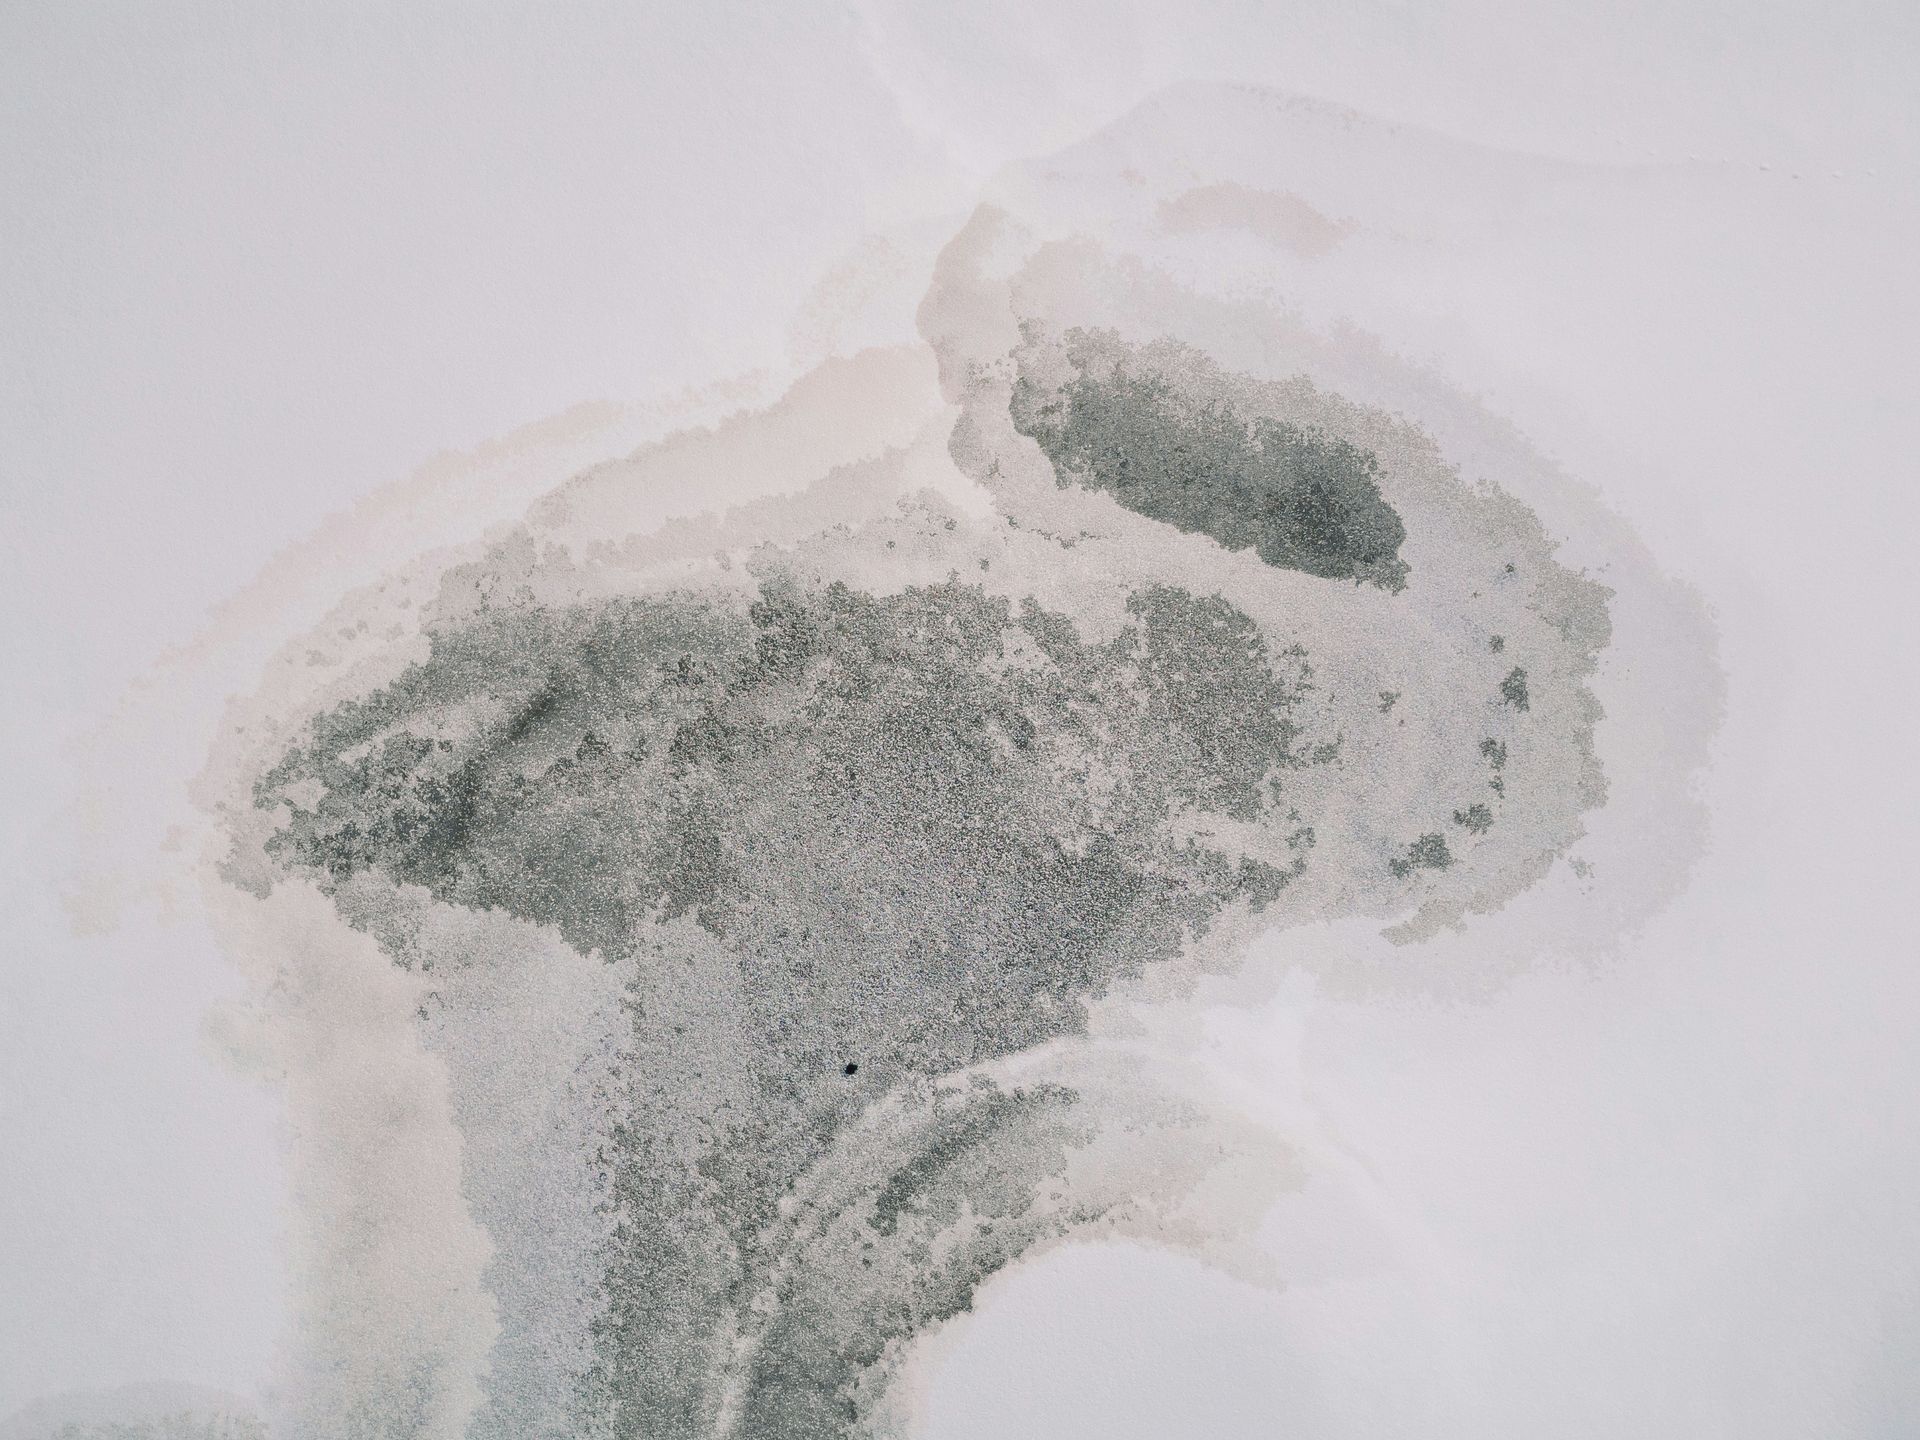
In winter, most ceiling leaks near exterior walls are caused by ice dam water damage, not a hole in the roof. Ice dams force melting snow back under shingles, where it seeps into the attic and down into ceilings and walls. Condensation can also drip from attic surfaces, but the signs look different.
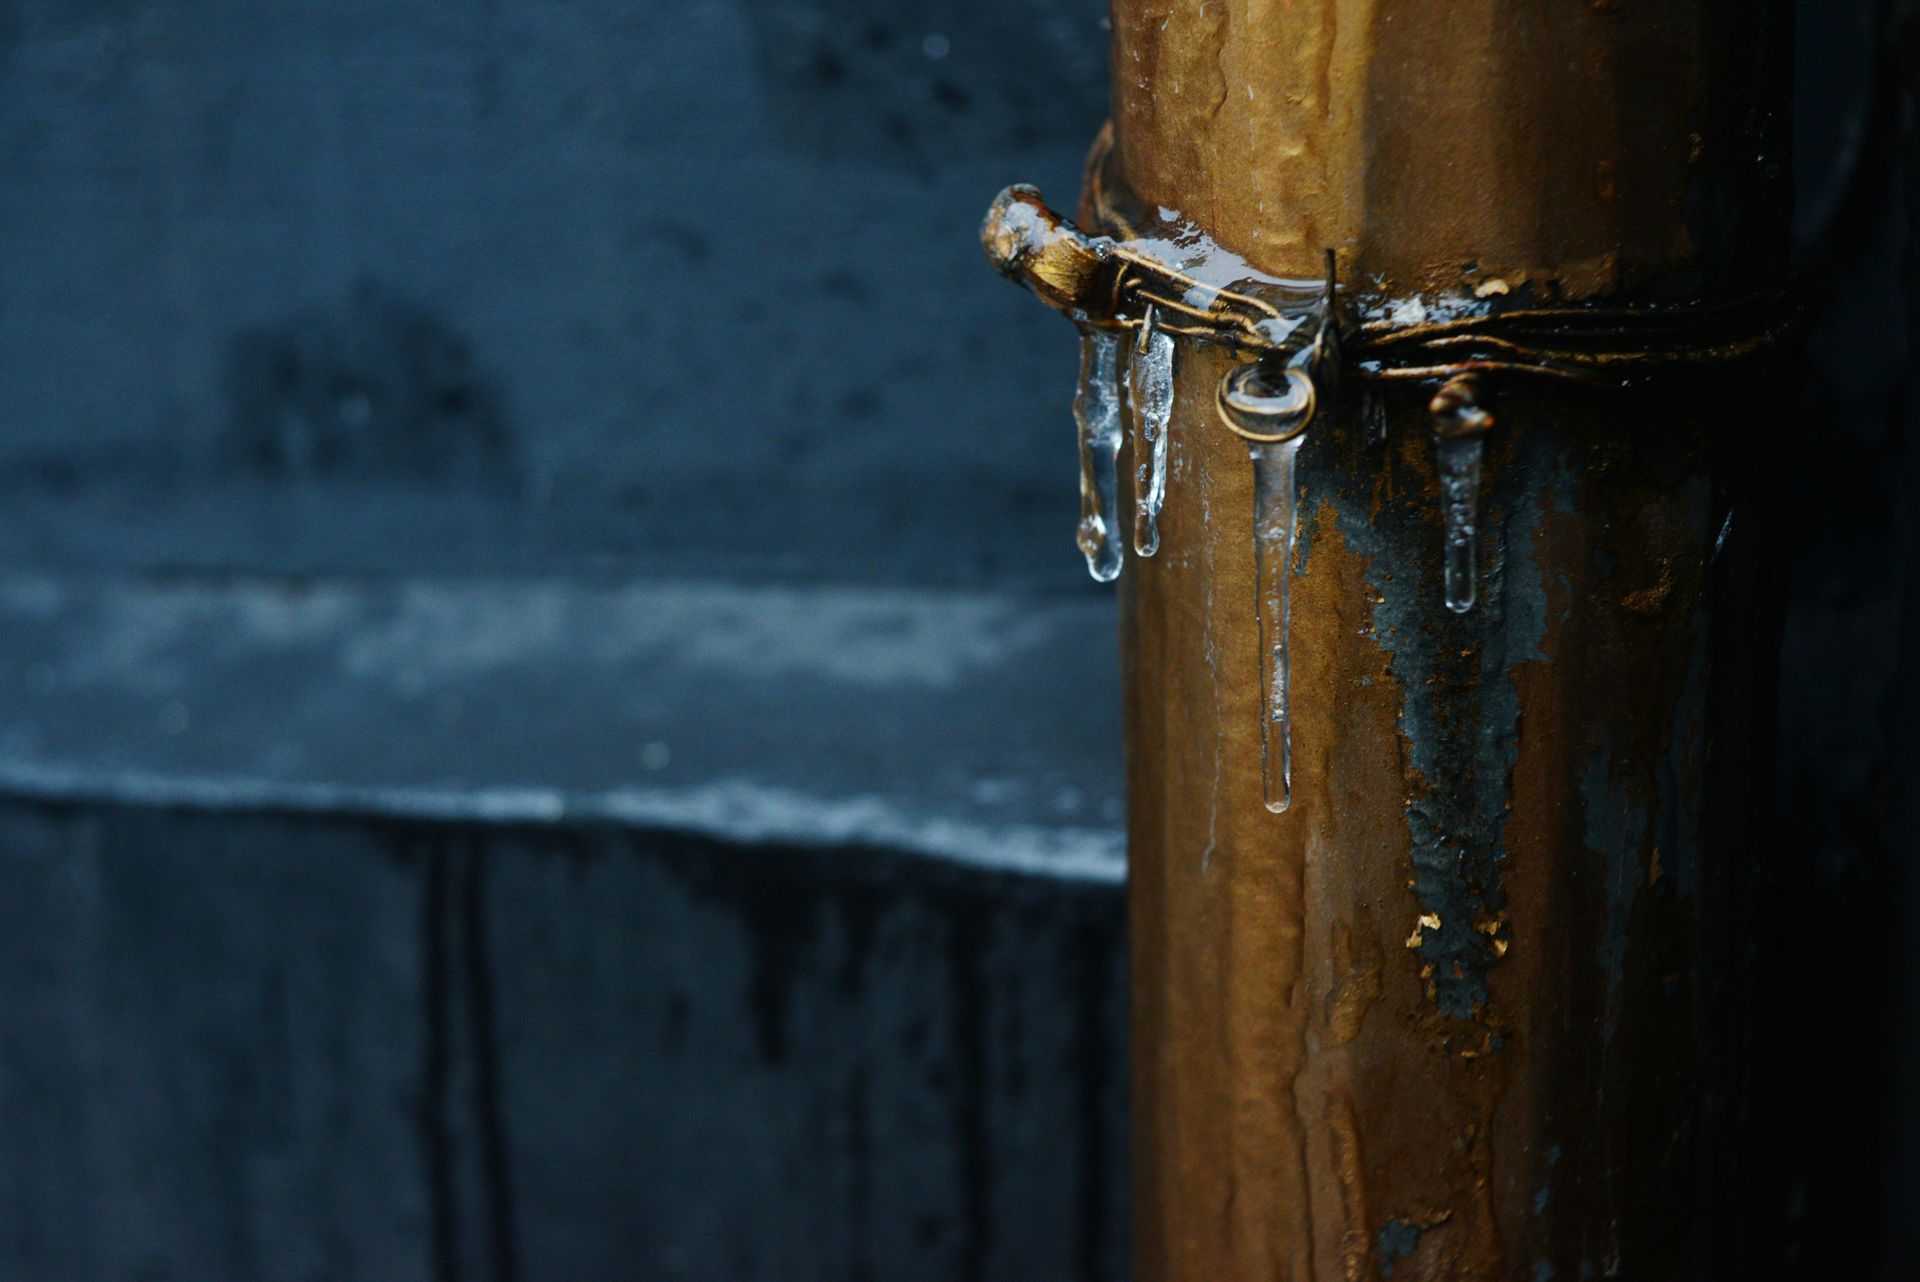
Winter in Michigan has a way of finding the weakest spot in a home. A pipe freezes overnight, expands, and the moment it thaws, water starts pouring into walls, ceilings, or basements. Panic sets in fast. Those first 15 minutes matter more than most homeowners realize.
Here is a clear plan to slow the damage, protect
Discover how Apex Restoration & Mitigation restores your property step-by-step. Call (810) 355-4775 for expert water restoration in Linden, MI.

Apex Restoration & Mitigation offers 24/7 water damage restoration in Linden, MI. Call (810) 355-4775 for immediate help with flood emergencies.
Apex Restoration & Mitigation offers 24/7 emergency water cleanup service in Fenton, MI. Call us now at (810) 355-4775 for fast and professional help.
Need emergency fire damage restoration in Fenton, MI? Call Apex Restoration & Mitigation at (810) 355-4775 for quick, reliable service.